
Google Webmaster Tools Tutorial – Part 1: Getting Started with Webmaster Tools
During part 1 of this tutorial we are going to cover, step by step, how to get started with Google Webmaster Tools. To be able to implement Webmaster Tools onto your site make sure that you have access to your website’s CPanel as installing the small amount of Javascript code will require it. If you’re scared by the word “code”, don’t worry. It is an extremely easy copy & paste process and we will walk you through it step by step.
Step 1: Create a Google Account
If you don’t have one already, a Google account is required to use Webmaster Tools. If you already have an account you can skip this step, but if you need to create one the page you navigated to should look like the one below:
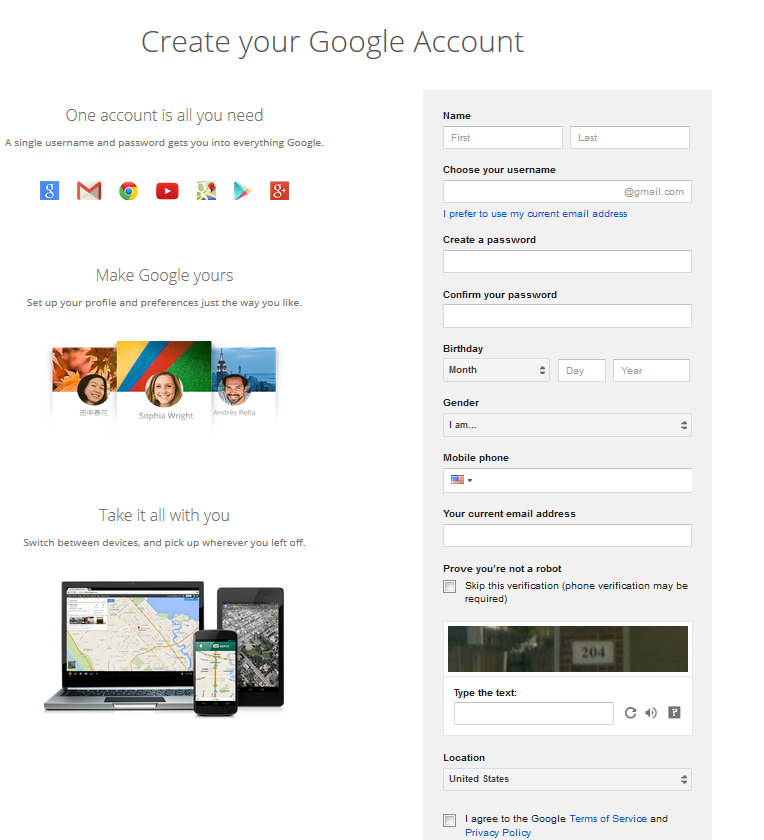
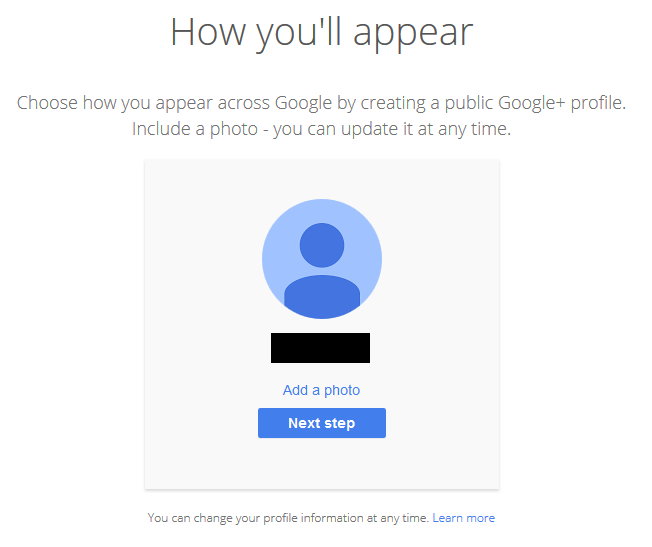
Creating your new account is simple and straight forward. Just fill in the required information that they ask for and click the blue “Next step” button and Google will ask you how you wish to appear. It is your choice whether or not you want to upload an avatar for your account, it is independent of Webmaster Tools.
Step 2: Our First Look at Webmaster Tools
If your account has been successfully created navigate to the Webmaster Tools page. Initially, it will ask you to login to your new account (even though you just created a Google account). After you have logged in, you should pop up at a page that looks similar to the one below:
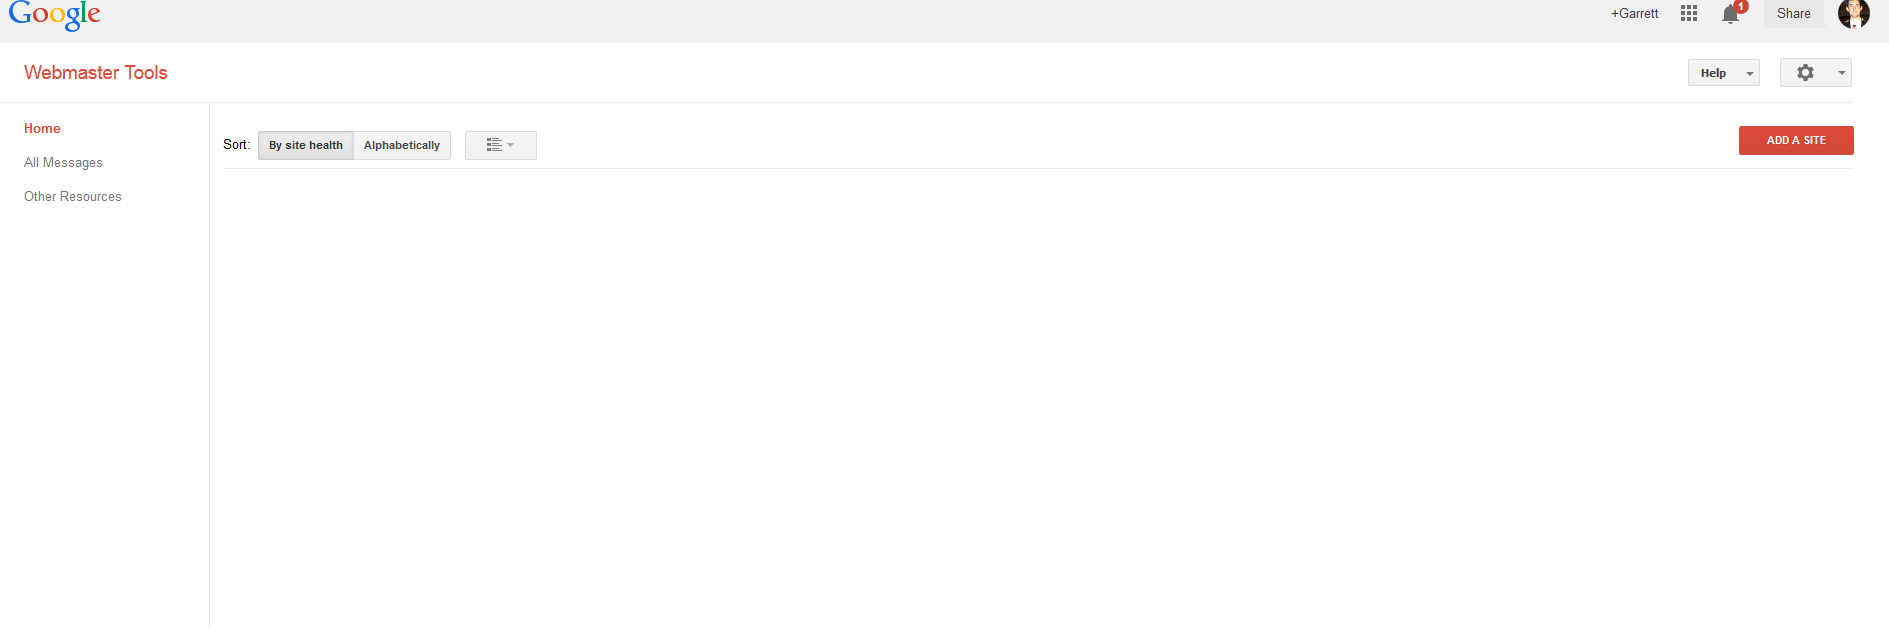
On this page you will notice a few things of importance:
- On the left toolbar there are pages for Home, All Messages and Other Resources
- Once added you can sort your sites by Health or Alphabetically
- There is a help box towards the upper right-hand corner
- There is a red “Add a Site” button towards the upper right-hand corner as well
After you have your website linked to Webmaster Tools we will come back and explore some of the resources we have available to us. For now, we’re going to start by clicking the “Add a Site” button so that we can begin to link our website to Webmaster Tools.

To begin, enter the URL of your business’s website as it asks for and click the blue “continue” button. On the next page it is going to ask you to upload an HTML file to your website that Google has generated so that it can verify you are the owner of the website, or at least have the permission to be managing its Webmaster Tools account. To do this, simply click the “this HTML verification” link in blue (outlined in red) to download your verification file.

Important: Remember where you saved this file, you’re going to need to upload it shortly.
Step 3: Uploading the Verification File
Now that you have your HTML verification file downloaded it is time to upload the file to your web server. If you’ve never done something like this, don’t panic, it isn’t as hard as it sounds. Make sure you have your CPanel information handy as you’re going to need it to login to your server. If you don’t have this information, speak with the person who manages your server or website to get it from them.
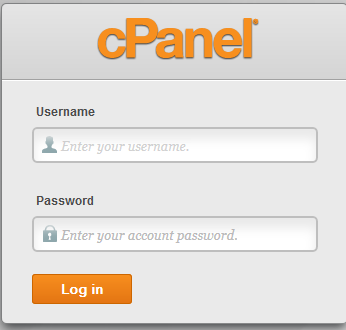
To gain access to your website’s CPanel simply go to your address bar and enter in the CPanel address.
cpanel.yoursitenamehere.com
Remember, if you have a .net or .org domain swap that in for the .com ending. If everything is setup properly you should be prompted to login as shown below. If an error occurs, speak to your website’s administrator as it is likely there is a misconfiguration on their end.
Now, simply login with your credentials and you will have successfully logged into your server! Warning: If you are unfamiliar with the inner workings of CPanel it is recommended you don’t go “looking around” and adhere strictly to what this tutorial asks you to do. TechFunction is not liable for any damage that occurs to your website or server as a result of following this tutorial.
The next step involves accessing the file manager. You can find the icon for the File Manager underneath the “Files” subheading, as outlined in the red box below. To enter the file manager click the icon and a box will pop up asking which to directory to open.

Make sure that the “Web Root” option is checked and click the “Go” button. The root location on your public folder is the place on your server that the files you wish to be seen by the public are placed. After clicking go a new window will open with the contents of your public folder.

As you can see, the Google verification file has already been uploaded on this server. To upload your own file, click the upload button as outlined in red and a new window will open so that you can upload your file. If you’ve lost your file or can’t remember where you saved it the first time you can always return to the Webmaster Tools account page and download a second copy. Just make sure not to lose it this time!

On this page you will notice a few things such as the browse button and the permissions settings. Make sure that User, Group and World are all able to “Read” the file and that only the User may “write” to the file and nobody is allowed to “execute” the file. In simplistic terms, you are setting who can view the file (anybody), who can make changes to it(only you) and who could execute the file if it was executable (nobody).
To upload your file, just click the “browse” button and a window will pop up asking you to choose your verification file. After you have uploaded your file, you can close the “upload files” window. Your Verification file will now be ready for Webmaster Tools to link to and your installation is complete!
Now that installation is complete, navigate over to Part 2 of the Google Webmaster Tools tutorial and we’ll start learning how we can integrate all of the tools into your business’s website. If you have any questions or installation didn’t go quite as well as hoped, send us a tweet to @techfunction and we’ll do our best to help you out.
Recent Comments