
Google My Business – Part 2 : Getting Started
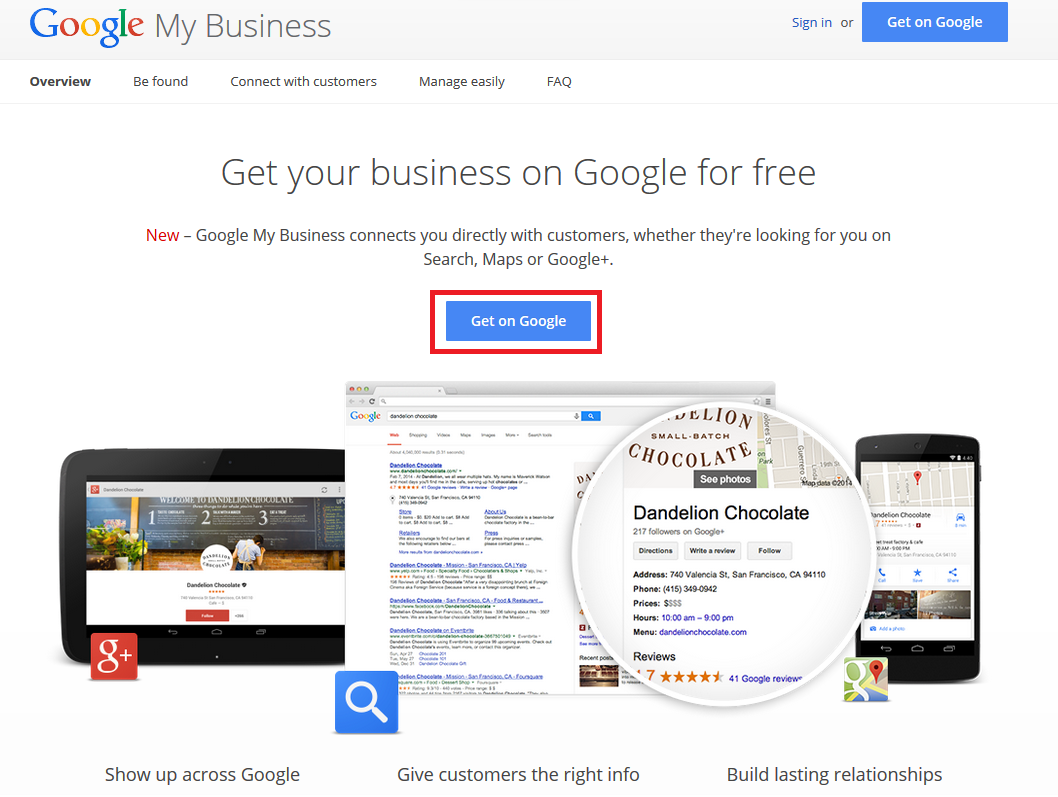
Alright, if you’ve made it this far that means you’re ready to get your company or business listed with Google! To get started, the first thing we need to do is navigate to Google’s new Business Page, pictured below.
The next page brings us to the login area. If you already have a Google account, you can simply login and skip the next step. For this demonstration I am going to make a new user account to help out those who don’t already have a Google account.


Account Creation
When we get to the account creation page Google asks us to fill in the basic information about our account. Everything here is relatively straightforward. For my privacy I have blocked out my personal information. Simply enter your own information and click the “next step” button on the bottom and we’ll be on our way.
Uploading the Account Image
After you have entered your account information Google asks us if we want to add an image. Of course we do! An image of ourselves, or even our company logo, gives the user a much more personalized experience and makes them feel like they’re connecting with a real person. Just click on the “Add a photo” button and a box will pop up allowing you to upload a photo. I’m going to upload Graff Industries’ logo, but feel free to upload a picture of yourself or whatever you feel is fitting.
Remember, try to use an image that your viewers can use to familiarize themselves with your brand. Whether it is your logo, a picture of your signature item or maybe even a photo of your office building, using something memorable is more likely to stick in their heads.

Great, nice work! Now that we have our images uploaded, we can click the “Next step” button and we will be greeted with a message from Google letting us know that our account was set up properly. Now that the basic account is started we can go back to Google Places and begin setting up your business profile.

Creating the Business Profile
Now comes the fun part. If you’ve stuck with me so far, you should have been directed to Google’s map. For me, they brought up the United States. For the purpose of this demonstration we are going to set up Graff Industries as a local business even though I work from home currently. If you are not a local business, in the upper right hand corner you can click on “Not a local business?” and you will skip the steps of setting up locally.

To begin, type in the address of your business in the search bar. If there is no pre-existing listing for your company like there was for mine, you will have to fill in the details manually, as shown to the left. Otherwise, simply select your business from the results.
Next, we need to create a Google+ page as well as confirm that we are authorized to manage this business page.

After clicking continue, Google will ask that you let them to mail you a postcard with a confirmation code to confirm your address. Allow them to do this! If you don’t your business will not be verified, and the public will see this. If your business was already listed on Google, you should have the option for them to call you immediately to confirm your address as well. Once that is all taken care of you will be redirected to your new Google+ page and a box should pop up offering a tour. I highly recommend taking the tour if you are unfamiliar with the workings of Google+ so that you can get comfortable with it.

If you took the tour, or even if you didn’t, you should now be staring at your very own Google My Business page. Exciting, right?! If your business hasn’t yet been verified you will notice that you are unable to view the Google Insights & Reviews that are associated with your account. Once you have been verified these will be accessible.
Automatic Verification with Webmaster Tools
If you haven’t already, it is a great idea to get Google Webmaster Tools hooked up with your website. Not only is WMT a great way to analyze the traffic of your website, but Google now supports automatic verification for Google My Business if your website is already linked with webmaster tools. In Jade from Google’s own words:
Good news — starting today, if you’re verifying a page for your business, you may be instantly verified on Google My Business if you’ve already verified your business’s website with Google Webmaster Tools. The verification will happen automatically, if applicable, when you attempt to verify a page for your business.
If you’d like to try instant verification, please make sure you’re signed in to Google My Business with the same account you used to verify your site with Webmaster Tools
Not all businesses with websites verified using Google Webmaster Tools will have instant verification, since not all business categories are eligible. If that’s the case, please use one of our other methods of verification (https://support.google.com/business/answer/2911778).
Filling in the Business Details
The first thing we are going to do with our newly constructed page is write up a brief intro about our businesses. To do this just click on the “Add an intro about your business” text below the name of your company. I’ve added a screenshot below to help you navigate to this area.

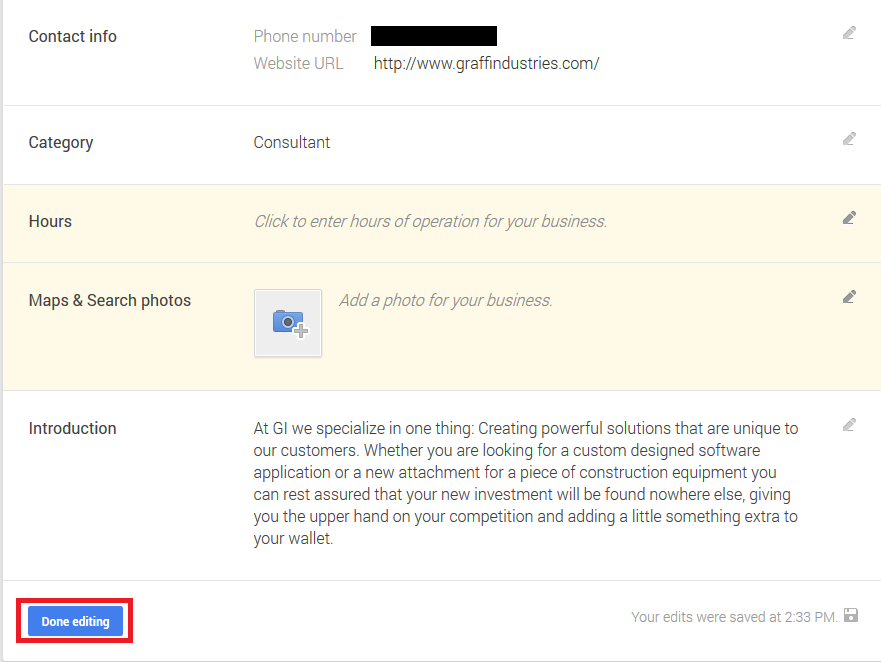
Feel free to style your introduction however you see fit. Remember this is an introduction to your company so remember to be concise about the services you offer and describe them as accurately as you can. After you have written up your introduction and have clicked save, you should be taken to a new page that allows you to check over the information you have already entered about your company. My page didn’t have the website URL, hours of business or a photo of the business filled in. I decided to just enter my website URL, you can add as much or as little information as you deem appropriate. When you’re done, just click “Done editing” and we will be on to the next step!

Now that we’re back at the home screen, the next thing we’re going to do is upload an image of our business. Again, I’m just going to upload my logo, but you may choose to upload a picture of your building, your employees in action or maybe a snapshot of your office. The process of uploading the picture is the same as discussed as earlier on in the article.
The next 2 steps involve adding the hours of your business to your Google listing as well as adding additional photos. To add the hours, simply click the right arrow next to the “1 of 3” and click “Add hours”. To add additional photos, just click the arrow again and then click “Add photos.” It doesn’t get much easier! Keep in mind, these options will only appear if you decided not to add them earlier, making it convenient to add the information whenever you have the time.

Making our First Post
The last thing we’re going to cover in this portion of the Google My Business Tutorial is how to add our first post to G+. We can do this right from homepage, as referenced below. Just click on the text that says, “Share what’s new…” and a box will pop up allowing you to share whatever you may have to say! You are allowed to use just text and even include links, video sand events! When you’re done, just click share and you’re ready to rock!

Google My Business Setup is Complete!
Pat yourself on the back, we’re all done setting up your new business listing on Google! Go ahead, take a little break, and when you’re all refreshed come on back for part 3 of this series on how to boost your local ratings to drive more traffic for your business!
Recent Comments